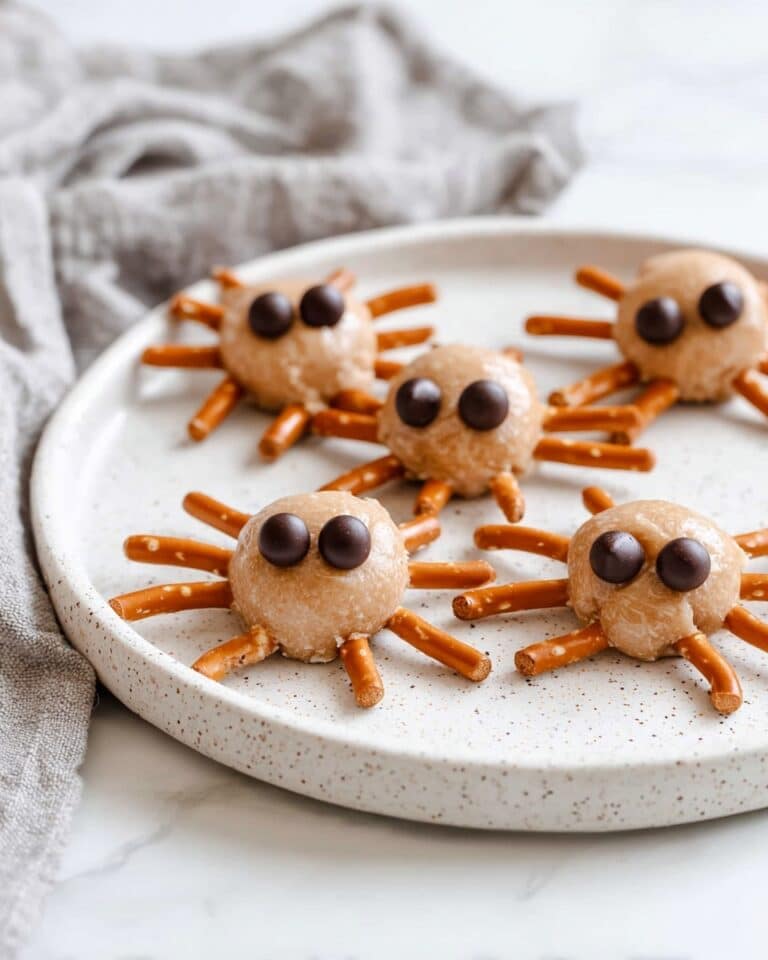
Peanut Butter Chocolate Bars Recipe
Oh, if you’re anything like me and love the combo of peanut butter and chocolate, this Peanut Butter Chocolate Bars Recipe will quickly become your go-to treat. It’s super simple, yet packs so much flavor—from that buttery, peanut buttery base to the silky chocolate topping that just melts in your mouth. Trust me, it’s a hit whether you’re whipping up a quick snack for yourself or bringing something special to a potluck.
What makes this Peanut Butter Chocolate Bars Recipe truly worth trying is how accessible the ingredients are and the zero fuss involved. I remember when I first made it—it was late afternoon, and I wanted something sweet but not overly complicated. These bars hit the spot perfectly, and the best part is, they come together in no time and don’t require baking. I’m excited for you to give it a try!
Why This Recipe Works
- No-Bake Simplicity: You don’t need an oven, so these bars are perfect for hot days or when you’re short on time.
- Perfect Texture Balance: The graham cracker base gives just the right crunch while the chocolate topping stays smooth and creamy.
- Easy Ingredient List: Using pantry staples means you can whip this up on a whim without a special trip to the store.
- Crowd-Pleasing Flavor: Who can resist peanut butter and chocolate? It’s a match made in dessert heaven that everyone will love.
Ingredients & Why They Work
The ingredients for this Peanut Butter Chocolate Bars Recipe come together to create that delightful layered texture and flavor combo. Each one plays a special role, so picking good quality peanut butter and chocolate chips really does make a difference!
- Butter: Melted butter binds the graham crackers, giving a rich, smooth base that holds everything together.
- Graham Crackers: These add a subtle sweetness and crunchy texture that keeps the bars from being too soft.
- Powdered Sugar: Smoothly sweetens the base without any gritty texture that granulated sugar might cause.
- Creamy Peanut Butter: The star ingredient – it adds creaminess, nuttiness, and that classic peanut butter flavor.
- Semi-Sweet Chocolate Chips: Melts beautifully to create a luscious, smooth top layer that balances the peanut butter’s saltiness.
- Additional Peanut Butter (for the topping): Mixing a bit of peanut butter into the chocolate makes the top even silkier and richer.
Make It Your Way
I absolutely love customizing this Peanut Butter Chocolate Bars Recipe depending on what I’ve got in the pantry or the occasion. It’s so versatile you’ll find yourself tweaking it to suit your taste preferences or dietary needs without losing what makes it special.
- Variation: Sometimes I swap creamy peanut butter for almond butter for a slightly different nutty flavor that still pairs beautifully with the chocolate.
- Dietary Tweaks: For a gluten-free version, just make sure your graham crackers are certified gluten-free—easy and just as tasty!
- Sweetness Level: If you prefer something less sweet, reduce the powdered sugar a bit, especially if your peanut butter is on the sweeter side.
Step-by-Step: How I Make Peanut Butter Chocolate Bars Recipe
Step 1: Prepare Your Base
First things first—line a 9×9 baking dish with parchment paper. This little prep step makes all the difference because it helps you lift the bars out easily when they’re set. I usually like to press the paper firmly into the corners so it doesn’t move around while I’m spreading the base.
Step 2: Mix the Base Ingredients
In a mixing bowl, combine the melted butter, powdered sugar, and crushed graham crackers. Using a hand mixer makes this super quick, but a spoon works just fine too. Then, stir in the 1 ¼ cup of creamy peanut butter until everything is evenly combined. You want a thick, sandy mixture that sticks together when pressed.
Step 3: Form the Peanut Butter Layer
Spread that peanut butter mixture evenly with a spatula into your prepared baking dish. Firmly press it down so it holds its shape—this keeps your bars nice and sturdy instead of crumbly. Getting this step right sets you up for perfect bars every time.
Step 4: Make the Chocolate Topping
Now for the fun part! In a microwave-safe bowl, combine the semi-sweet chocolate chips with the remaining 3 tablespoons of creamy peanut butter. Heat in 30-second bursts, stirring well after each round until everything is melted and perfectly smooth. Be careful not to overheat—stirring is key to avoid burning the chocolate.
Step 5: Pour and Chill
Spread the luscious chocolate-peanut butter mixture evenly over the peanut butter base. Pop the whole tray into the fridge for at least 1 hour to set. Patience here pays off—don’t try to rush it, or the layers won’t firm up properly.
Step 6: Serve and Enjoy
Once chilled, let the bars sit at room temperature for 10 to 15 minutes before slicing. This little rest softens the chocolate layer just enough to make slicing neat and smooth. Then dig in—you deserve it!
Tips from My Kitchen
- Press Firmly: I always press the base down with the back of a measuring cup to get an even, compact layer that slices easily later.
- Chocolate Melting: Stir the chocolate frequently when microwaving to keep it glossy and avoid graininess.
- Room Temperature Slice: Letting the bars warm slightly before cutting helps prevent cracking on the chocolate topping.
- Use Parchment Paper: Definitely line your pan; it makes cleanup and removal a breeze!
How to Serve Peanut Butter Chocolate Bars Recipe

Garnishes
When I serve these bars, I like to sprinkle a tiny pinch of flaky sea salt on top of the chocolate layer just before chilling—it adds that perfect contrast to the sweet and creamy flavors. You could also toss on some chopped roasted peanuts for extra crunch, which always impresses guests.
Side Dishes
These bars are sweet enough to enjoy solo but pairing them with a cold glass of milk or a scoop of vanilla ice cream really elevates the experience in my book. For a party, I often set them alongside fresh fruit like sliced strawberries to balance the richness.
Creative Ways to Present
For birthdays or gatherings, I’ve dressed these bars up by cutting them into mini squares and placing them in colorful mini cupcake liners. It makes them look fancy but keeps that homemade charm. You could also drizzle a bit of melted white chocolate over the top for an extra visual pop.
Make Ahead and Storage
Storing Leftovers
Once your Peanut Butter Chocolate Bars are set, store them in an airtight container in the fridge. They stay fresh for about a week, but honestly, they rarely last that long in my house! Make sure to keep them cold so the chocolate topping doesn’t get too soft.
Freezing
I’ve frozen these bars before by wrapping individual squares in plastic wrap and then tucking them in a freezer-safe container. They freeze wonderfully and thaw quickly—perfect if you want to prepare ahead for a party or just have ready-to-go treats.
Reheating
To enjoy leftovers, I usually let frozen bars thaw in the fridge overnight. If you want to soften them a bit faster, just leave them out at room temperature for 15-20 minutes before digging in. Avoid microwaving—they can get melty in an unappealing way.
FAQs
-
Can I use crunchy peanut butter instead of creamy?
Absolutely! Crunchy peanut butter will add a nice texture variation to the bars, giving that little extra crunch in each bite. Just keep in mind it might make the base slightly less smooth but still delicious.
-
Do I need to use graham crackers, or can I substitute something else?
You can swap graham crackers for digestive biscuits, saltine crackers, or even crushed pretzels for a salty twist. Just crush them finely so the base holds together well.
-
Is it necessary to chill the bars for a full hour?
Chilling for a full hour ensures the bars set firmly, making them easier to cut and eat. If you’re short on time, 40-45 minutes might work, but the texture won’t be as perfect.
-
Can I make this recipe vegan or dairy-free?
Yes! Use a plant-based butter substitute and dairy-free chocolate chips. Make sure your peanut butter doesn’t contain any dairy additives. This way, you can enjoy vegan peanut butter chocolate bars with the same great flavor.
-
How do I get clean slices without the chocolate cracking?
Let the bars sit at room temperature for 10-15 minutes after removing them from the fridge before slicing. Using a sharp knife warmed under hot water and wiped dry also helps you cut neat pieces without cracking the chocolate layer.
Final Thoughts
This Peanut Butter Chocolate Bars Recipe is one of those desserts I always keep ready in my back pocket. It’s fuss-free, uses familiar ingredients, and delivers that comforting peanut butter and chocolate combo every time. I encourage you to give it a whirl, experiment with your own touches, and share these blissful bars with friends and family—you’ll have everyone asking for the recipe, I promise!
Print
Peanut Butter Chocolate Bars Recipe
- Prep Time: 10 minutes
- Cook Time: 0 minutes
- Total Time: 1 hour 10 minutes
- Yield: 16 servings
- Category: Dessert
- Method: No-Cook
- Cuisine: American
Description
Delicious no-bake peanut butter bars featuring a crunchy graham cracker base and a rich, creamy peanut butter and chocolate topping. Perfect for satisfying your sweet tooth with a simple yet indulgent treat.
Ingredients
Base
- 3/4 cup butter melted
- 2 cups graham crackers crushed
- 2 cups powdered sugar
- 1 1/4 cup creamy peanut butter
Topping
- 2 1/2 cups semi sweet chocolate chips
- 3 tablespoons creamy peanut butter
Instructions
- Prepare the Pan: Line a 9×9 inch baking dish with parchment paper and set aside.
- Make the Base Mixture: Using a stand mixer or handheld mixer, combine the melted butter, powdered sugar, and crushed graham crackers until well blended.
- Add Peanut Butter: Mix in 1 ¼ cups of creamy peanut butter until the mixture is fully incorporated and smooth.
- Press Base into Pan: Evenly spread the peanut butter mixture into the bottom of the prepared baking dish, pressing it down firmly for an even layer.
- Prepare Chocolate Topping: In a heat-safe bowl, add the semi-sweet chocolate chips and remaining 3 tablespoons of creamy peanut butter. Heat in 30 second intervals, stirring well after each until the mixture is smooth and fully combined.
- Spread Chocolate Over Base: Pour the chocolate mixture over the peanut butter base and spread evenly with a spatula.
- Chill the Bars: Refrigerate the bars for 1 hour to set.
- Serve: Allow the bars to sit at room temperature for 10 to 15 minutes before slicing and serving for optimal texture.
Notes
- Use creamy peanut butter for a smooth texture; chunky peanut butter will change the consistency.
- For easier cutting, warm the knife slightly or use a plastic knife to prevent sticking.
- Store bars in an airtight container in the refrigerator for up to one week.
- You can substitute semi-sweet chocolate chips with milk or dark chocolate chips based on preference.
- For a gluten-free version, use gluten-free graham crackers.
Nutrition
- Serving Size: 1 bar
- Calories: 280 kcal
- Sugar: 20 g
- Sodium: 150 mg
- Fat: 18 g
- Saturated Fat: 6 g
- Unsaturated Fat: 10 g
- Trans Fat: 0 g
- Carbohydrates: 24 g
- Fiber: 2 g
- Protein: 5 g
- Cholesterol: 25 mg


