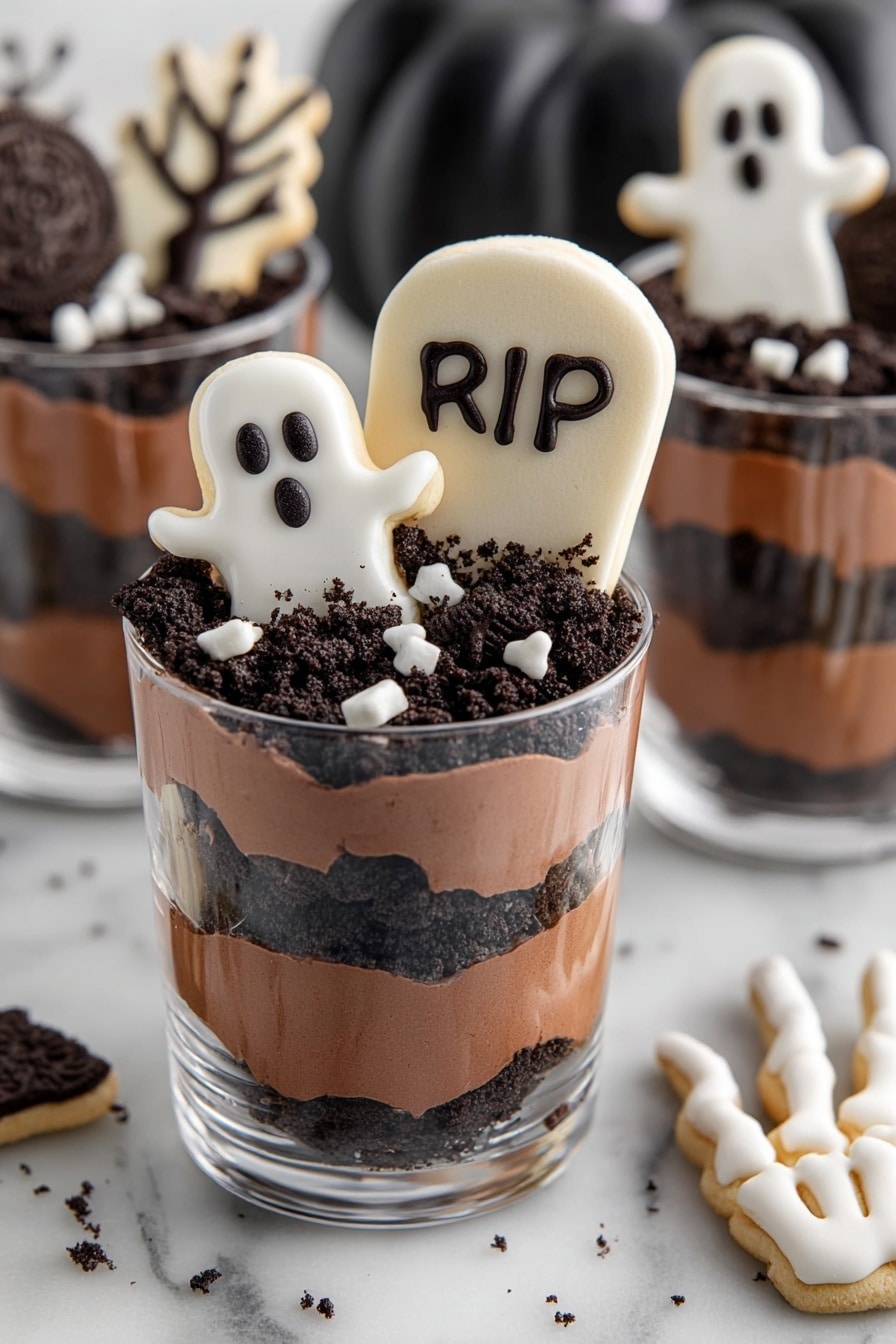
Halloween Graveyard Pudding Cups Recipe
If you’re hunting for a fun, spooky dessert that’s as impressive as it is delicious, you’ve landed in the right place. This Halloween Graveyard Pudding Cups Recipe is one of my all-time favorite festive treats — it’s creamy, chocolatey, and packed with playful details that will wow kids and adults alike. Trust me, once you whip these up, you’ll want to make them every year!
Why This Recipe Works
- Easy layering: The alternating layers of creamy pudding and crunchy Oreos create a delightful texture contrast that’s totally addictive.
- Fun decorations: Crafting white chocolate ghosts and candy melt tombstones turns this dessert into a cute and spooky centerpiece.
- No baking required: This recipe is perfect if you want a festive dessert without heating up your kitchen.
- Kid-friendly: Kids love assembling the graveyard scene — it’s a great way to get them involved in the kitchen!

Ingredients & Why They Work
Each ingredient in this Halloween Graveyard Pudding Cups Recipe has a special role, from creating that rich chocolate pudding base to building spooky edible decorations. Here’s why they’re perfect together and a few tips before you shop.
- White chocolate: Melted white chocolate is the star for making ghost shapes—it sets beautifully smooth and is sweet but mellow.
- Black candy melts: These are ideal for delicate detailed piping to create faces and tombstones without fuss.
- Milano cookies: Their oval shape is perfect to resemble tombstones, plus they add a buttery crunch.
- Instant chocolate pudding mix: It makes prepping this recipe quick and easy—just whisk with cold milk and you’re set.
- Cold milk: The cold liquid helps the pudding thicken nicely and keeps it smooth.
- Oreos (crushed): Adds that iconic graveyard “dirt” look and a satisfying crisp bite against the creamy pudding.
- Halloween sprinkles (optional): For extra festive flair—think bats, pumpkins, and bats to finish off the scene.
Make It Your Way
I like to switch up the toppings and decorations to match whoever’s coming to my Halloween party — sometimes I add gummy worms for more “creepy crawlies,” or swap Milano cookies for homemade chocolate chip cookies. You can totally customize this Halloween Graveyard Pudding Cups Recipe to suit your style or dietary needs!
- Variation: One year, I used peppermint Oreos instead of regular ones, which added a cool, refreshing twist—and my friends loved the unexpected flavor! Feel free to swap in your favorite cookie.
- Dairy-free option: Use dairy-free pudding mix and milk alternatives like almond or oat milk for a vegan-friendly dessert.
- Spooky upgrade: Try adding edible eyes or mini candy pumpkins to decorate the graveyard for an extra spooky effect.
Step-by-Step: How I Make Halloween Graveyard Pudding Cups Recipe
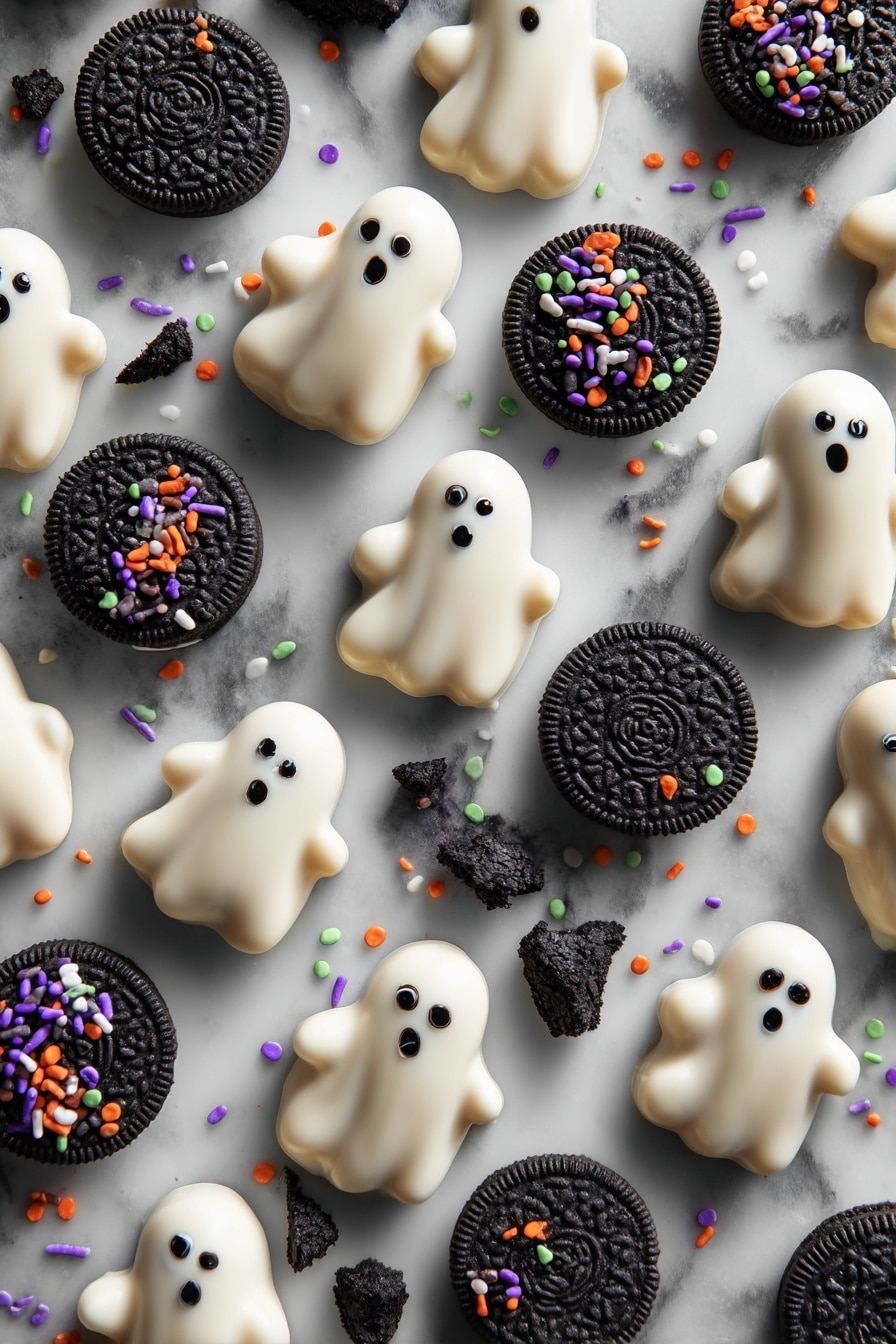
Step 1: Crafting the Ghosts
Start by melting your white chocolate in short 20-second bursts in the microwave—give it a good stir between each session to avoid burning and ensure smoothness. Then, using a spoon, dollop heaped spoonfuls onto parchment paper. I like to drag the bottom of each dollop down to make a ghost-like shape, and with a toothpick, I gently pull out the sides to create ghostly arms. Pop these ghosts into the fridge so the chocolate can set fully; it usually takes about 15-20 minutes.
Step 2: Decorating the Ghosts and Making Tombstones
Next, melt your black candy melts as directed on the package. Transfer the melted candy into a piping bag with a small tip, and carefully pipe spooky eyes and mouths onto your ghost shapes. Don’t rush here — steady hands make the cutest faces! Set the ghosts aside to fully harden. Then, for your graveyard trees, pipe tree shapes onto parchment paper, making sure each has a sturdy base so they won’t topple over later. Use the remaining black candy melt to write creepy inscriptions on your Milano cookies—these become your tombstones, which are honestly so charming once assembled.
Step 3: Preparing the Chocolate Pudding Layers
Whisk your instant chocolate pudding mix into cold milk until everything looks silky smooth. I recommend letting it rest for a few minutes so it thickens up properly–this makes your pudding cups delightfully creamy and stable.
Step 4: Assemble Your Graveyard
Now comes the fun part! Start by spooning a layer of pudding into each serving cup, then sprinkle a generous layer of crushed Oreos for that “dirt” effect. Repeat the layers, finishing with Oreos on top. Chill these in the fridge for about an hour to let everything set nicely.
Step 5: Decorate Your Pudding Cups
Once the pudding is firm, gently press a Milano cookie tombstone into each cup, place a white chocolate ghost nearby, and tuck a candy melt tree at the back for an eerie effect. If you want, sprinkle a few Halloween sprinkles on top for the finishing touch. Voila — your little edible graveyard is ready to spook and delight!
Tips from My Kitchen
- Smooth Chocolate Melting: Always melt chocolate in short bursts and stir often to prevent scorching—this keeps it silky for easy shaping.
- Pipe with Confidence: Use a small piping tip and steady hands; if you don’t have a piping bag, a small plastic sandwich bag with a tiny corner snipped works great!
- Layer with Care: Don’t overfill your cups; leaving a little space on top makes decorating easier and prettier.
- Keep Decorations Separate: Store ghosts and trees separately until serving to keep them crisp and prevent melting or sogginess.
How to Serve Halloween Graveyard Pudding Cups Recipe
Garnishes
Personally, I adore finishing these pudding cups with a handful of Halloween-themed sprinkles like tiny bats or colorful pumpkins—just a little sprinkle adds playfulness without overpowering the flavors. You could also try edible glitter or crushed candy bones for a creepy touch that kids rave about.
Side Dishes
Since these pudding cups are rich and sweet, I like pairing them with simple sides like salty popcorn or spiced roasted nuts to balance the flavors. They also make a great highlight after a savory Halloween dinner like sloppy joes or a cozy chili.
Creative Ways to Present
Last year, I served these pudding cups inside mini flower pots lined with paper to look like actual graves in a garden—and sprinkled cookie crumbs around to mimic dirt. Another time, I layered them inside clear mason jars topped with a small skeleton hand perched on the rim, which was a total crowd-pleaser!
Make Ahead and Storage
Storing Leftovers
If you happen to have leftovers (lucky you!), cover your pudding cups tightly with plastic wrap or keep them in an airtight container and store in the fridge. The pudding holds up really well for up to 3 days, but I always recommend adding the ghost and tree decorations right before serving again to keep everything looking fresh.
Freezing
I generally don’t freeze these pudding cups since the texture of instant pudding changes after freezing; it can get a bit grainy. However, if you want to freeze, try freezing just the pudding layer on its own and assemble with Oreos and decorations fresh later for best results.
Reheating
Since this dessert is served cold, there’s no need for reheating. Just take it out of the fridge about 10 minutes before serving to let the flavors shine through at just the right temperature.
FAQs
-
Can I make the Halloween Graveyard Pudding Cups Recipe gluten-free?
Definitely! Simply swap out the Milano cookies and Oreos for your favorite gluten-free cookies. Just make sure your instant chocolate pudding mix is gluten-free as well, which most are.
-
How far in advance can I prepare these pudding cups?
You can prepare the pudding cups (without decorations) up to a day in advance and keep them refrigerated. Add the ghosts, tombstones, and trees right before serving for the best look and texture.
-
Any tips for piping candy melts if I’m not experienced?
Start by practicing on parchment paper with simple shapes before decorating your ghosts and cookies. Warm the candy melts a little longer if they’re thick to get a smooth flow, and keep your piping bag tip clean to avoid jagged lines.
-
Can I use homemade pudding instead of instant mix?
Absolutely! Homemade chocolate pudding will add a richer taste; just be sure it’s thick enough to hold the layers well without becoming runny.
Final Thoughts
This Halloween Graveyard Pudding Cups Recipe is one of those delightful edible crafts that’s as much fun to make as it is to eat. I love how it brings a little magic—and a lot of smiles—to any Halloween gathering. So if you want to wow your guests with minimal fuss and maximum spooky charm, this recipe is your new go-to. Grab your ingredients, get your hands a little messy, and enjoy making a Halloween treat that’s truly unforgettable!
Print
Halloween Graveyard Pudding Cups Recipe
- Prep Time: 20 minutes
- Cook Time: 0 minutes
- Total Time: 1 hour 20 minutes
- Yield: 6 cups
- Category: Dessert
- Method: No-Cook
- Cuisine: American
Description
Halloween Graveyard Pudding Cups are a spooky and delicious dessert featuring layers of creamy chocolate pudding and crushed Oreos, topped with festive white chocolate ghosts, black candy melts trees, Milano cookie tombstones, and optional Halloween sprinkles. Perfect for a fun and creepy treat during Halloween celebrations.
Ingredients
Chocolate Decorations
- ⅔ cup white chocolate melted
- ½ cup black candy melts melted
- 6 Milano cookies
Pudding
- 1 (3.9 ounce) box instant chocolate pudding mix
- 1 ¾ cups cold milk
- ½ – 1 cup crushed Oreos
- Halloween sprinkles optional
Instructions
- Melt and shape ghosts: Melt the white chocolate in a microwave-safe bowl by heating in 20-second intervals, stirring until smooth. Drop heaped spoonfuls onto a parchment-lined tray. Use the back of the spoon to drag the bottom of dollops down to create ghost shapes. Use a toothpick to pull out chocolate on each side to form arms if desired. Refrigerate until set.
- Decorate ghosts: Melt black candy melts according to package directions. Transfer to a piping bag with small tip and pipe eyes and mouths onto the white chocolate ghosts. Let them harden fully.
- Create trees and tombstones: With remaining black candy melts, pipe spooky tree shapes onto parchment paper, ensuring a thick base as an anchor. Let set completely. Pipe inscriptions onto Milano cookies with melted black candy to mimic tombstones.
- Prepare pudding: In a large bowl, whisk instant chocolate pudding mix and cold milk together until smooth. Let sit for a few minutes to thicken.
- Assemble pudding cups: Layer pudding at the bottom of each serving cup, followed by crushed Oreos. Repeat layers ending with Oreos on top. Refrigerate for 1 hour to set.
- Decorate and serve: Just before serving, gently press a Milano cookie tombstone into each cup, place a white chocolate ghost beside it, and add a tree at the back. Sprinkle Halloween sprinkles on top if desired. Serve and enjoy!
Notes
- Store pudding cups covered well with plastic wrap or airtight container in the refrigerator for up to 3 days.
- Keep decorations separate from pudding until ready to serve to preserve texture.
- Adjust amount of crushed Oreos according to preferred layering thickness.
- Use toothpicks carefully when shaping ghosts to avoid breaking the chocolate.
Nutrition
- Serving Size: 1 cup
- Calories: 320 kcal
- Sugar: 28 g
- Sodium: 160 mg
- Fat: 18 g
- Saturated Fat: 10 g
- Unsaturated Fat: 7 g
- Trans Fat: 0 g
- Carbohydrates: 36 g
- Fiber: 2 g
- Protein: 4 g
- Cholesterol: 15 mg


