Easy Halloween Fudge Recipe
Oh, if you’re looking for a party-pleaser that’s sweet, colorful, and screams Halloween fun, you’re going to adore this Easy Halloween Fudge Recipe. Trust me, it’s one of those treats that not only tastes ridiculously good but also adds that perfect spooky pop to your festive gatherings. I’ve made this fudge plenty of times, and every batch disappears faster than you can say “trick or treat!” So stick around, because I’m about to share everything you need to nail this Halloween classic right in your kitchen.
Why This Recipe Works
- Simple Ingredients: Just white chocolate and condensed milk come together for that silky, melt-in-your-mouth fudge.
- Vibrant Colors: Food coloring lets you get creative with classic Halloween shades, making this fudge festive and fun.
- Easy to Customize: You can toss in sprinkles, swap colors, or even mix in some flavors to make it your own.
- No Fuss Prep: This recipe doesn’t require fancy tools or difficult techniques, perfect for any home cook.
Ingredients & Why They Work
I love how few ingredients this Easy Halloween Fudge Recipe calls for, yet the result is super rich and creamy. Each one plays a key role in delivering that luscious texture and festive vibe, and I’ll share some tips on choosing just the right ones so your fudge turns out perfect every time!
- White chocolate: Look for high-quality white chocolate bars or chips; they provide a smooth, creamy base and melt beautifully without seizing.
- Sweetened condensed milk: This adds sweetness and creaminess while helping the fudge set nicely without any graininess.
- Food colouring: Gel or paste food coloring works best to get those rich Halloween hues without watering down your fudge.
- Vegetable oil: A splash keeps the chocolate from seizing when mixing in the colors—this little trick saves so much hassle!
- Halloween cake sprinkles or candies: Adds fun texture and festive flair, but make sure they’re colorful and sturdy to hold up on the fudge.
Make It Your Way
One of my favorite things about this Easy Halloween Fudge Recipe is how customizable it is. I often switch up the colors or sprinkle mix-ins to surprise my friends and family every year. Don’t be shy—make it truly yours by playing around with flavors and decorations!
- Variation: Sometimes I swap out the white chocolate for dark chocolate or mix both for a marbled effect, which looks amazing and tastes divine.
- Dietary adaptation: For a dairy-free version, coconut milk condensed milk and vegan white chocolate can work, but test melt carefully as the texture might slightly change.
- Seasonal twist: For a less spooky take, try pastel colors and festive sprinkles for Easter or birthday parties—same method, different vibe!
Step-by-Step: How I Make Easy Halloween Fudge Recipe
Step 1: Prep Your Pan
Start by lining an 8×8-inch tin with baking paper. This little step makes a huge difference when it’s time to get your fudge out—no sticky messes, just smooth squares ready to cut.
Step 2: Melt White Chocolate with Sweetened Condensed Milk
Break your white chocolate into chunks and add it to a saucepan with the condensed milk. Place the pan over low heat and stir gently but continuously—slow and steady wins here. You want a thick, glossy fudge mixture without scorching or drying out the chocolate. Keep the heat low to avoid lumps or burning.
Step 3: Divide and Color
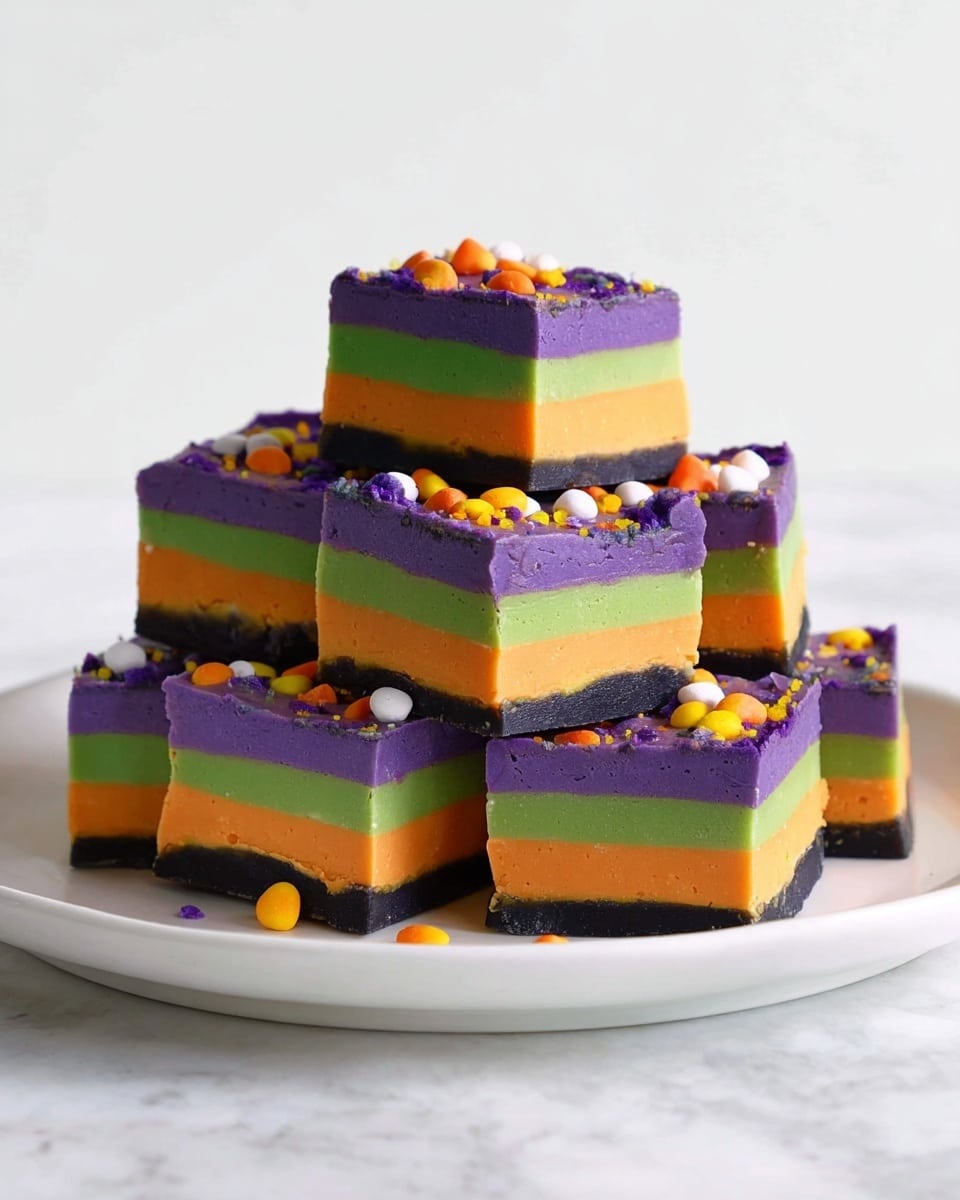
Once everything’s melted and silky, divide the mixture evenly into four small bowls. Add your Halloween food colors—black, orange, green, and purple are classics—and don’t forget to add a drop or two of vegetable oil with the coloring to prevent the chocolate from seizing. Stir each until you have bold, even colors.
Step 4: Spread Layers in the Tin
Now for the fun part: spread each colored fudge layer one by one into your lined pan. Work quickly because the fudge firms up fast! If it begins thickening before you’re done, pop it in the microwave for 10-20 seconds to soften it back up. This trick keeps everything manageable and smooth.
Step 5: Sprinkle and Chill
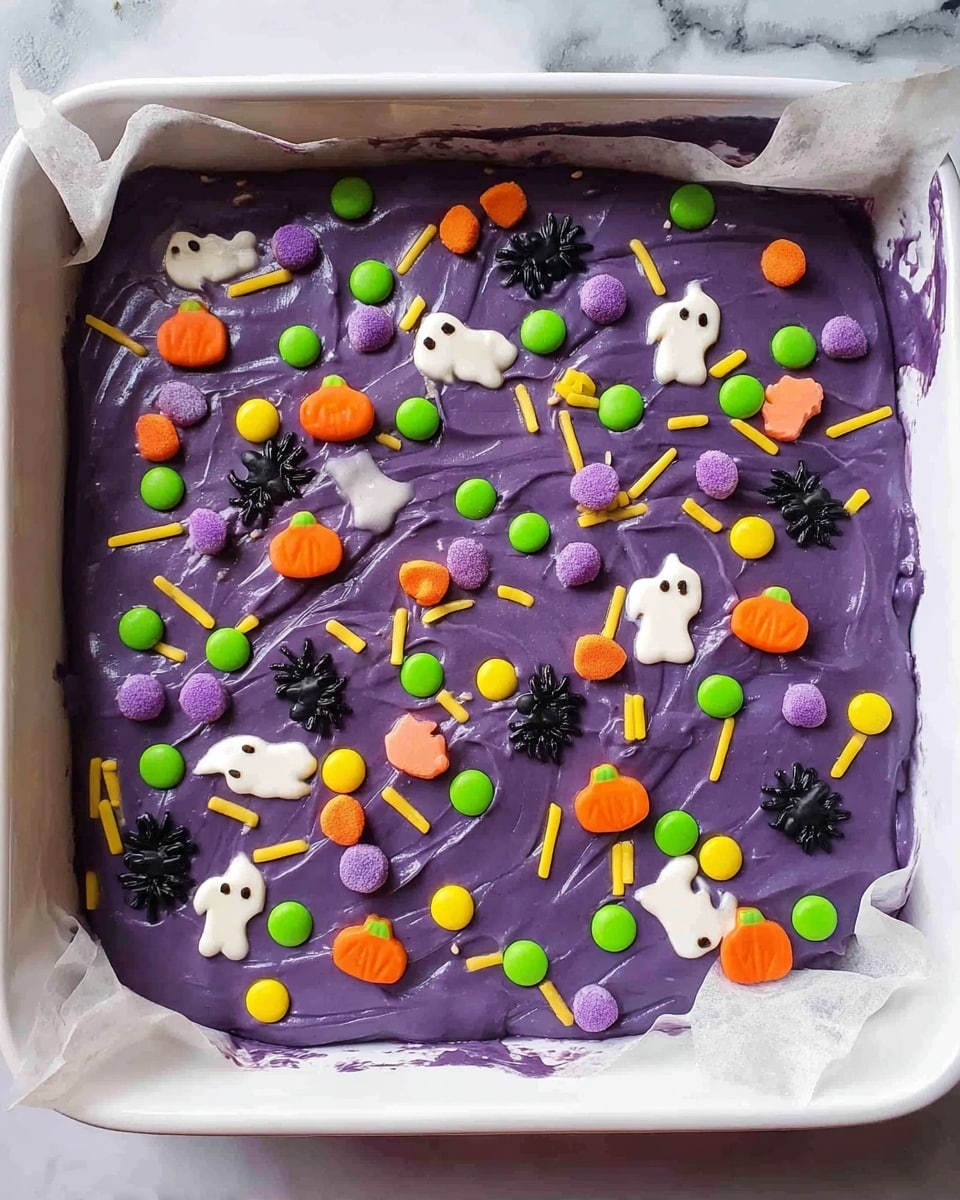
Sprinkle on those Halloween candies or sprinkles immediately after spreading the last layer—while the fudge is still soft so they stick perfectly. From there, refrigerate for about 4 hours or until firm. Then, lift out the fudge, cut into bite-sized squares, and get ready for compliments!
Tips from My Kitchen
- Low Heat is Key: Always melt your chocolate mixture on the lowest heat to prevent burning—slow and gentle is the way I never fail.
- Use Vegetable Oil: Adding a few drops to your colors keeps things super smooth and stops the chocolate from seizing up, which I learned the hard way the first time I skipped it.
- Work Quickly but Calmly: The fudge can firm up fast, so spread layers steadily but without rushing to avoid cracks or hard spots.
- Microwave Rescue: If your fudge is stiff, a quick 10-second zap refreshes the texture without ruining your layers—trust me, this saved my first batch many times.
How to Serve Easy Halloween Fudge Recipe
Garnishes
I’m a big fan of topping this fudge with colorful Halloween sprinkles because it adds that perfect crunch and makes every bite feel extra special. I usually go for spooky shapes like bats and pumpkins, but glittery edible glitter works wonders too for a magical touch.
Side Dishes
This fudge pairs beautifully with hot apple cider or pumpkin spice latte when serving at fall parties. The rich sweetness of the fudge complements chilly weather drinks perfectly and keeps the Halloween vibes flowing.
Creative Ways to Present
One year, I presented the fudge cut into tiny coffin shapes with a little plastic spider perched on each one — total crowd-pleaser! I’ve also spread layers in a clear glass dish for a striped effect that’s great for a dessert buffet. Wrapping squares individually in colored cellophane makes them great party favors too.
Make Ahead and Storage
Storing Leftovers
I store leftover fudge in an airtight container in the fridge and it stays perfect for up to two weeks. Just make sure it’s sealed well to keep those Halloween flavors fresh and prevent it from absorbing other fridge smells.
Freezing
I’ve tried freezing this fudge, and it works if you wrap the pieces tightly in cling film then pop them in a freezer bag. It thaws quite nicely in the fridge overnight without losing texture or flavor, which is a lifesaver if you’re prepping for a big party.
Reheating
If you want a softer fudge after refrigeration or freezing, a quick 5-10 second microwave blast usually does the trick. Just be sure not to overheat, or it could become grainy. I like to check it in short bursts to hit that perfect creamy vibe again.
FAQs
-
Can I use regular food coloring instead of gel for this fudge?
You can, but I recommend gel or paste food coloring since regular liquid colors can thin out your fudge mixture and affect the texture. Gel colors give you those rich, vivid Halloween shades without making your fudge runny.
-
What if my fudge is too soft after refrigerating?
If your fudge isn’t firm enough after chilling, it might need more time in the fridge or the chocolate-to-condensed-milk ratio might be off. Try refrigerating longer, and next time, ensure you use full-fat condensed milk and good-quality white chocolate to get that perfect firmness.
-
Can I add flavor extracts to this fudge?
Absolutely! A splash of vanilla or almond extract complements the sweetness nicely. Just add a teaspoon once the chocolate has melted and stir gently before dividing into color bowls.
-
How do I prevent the chocolate from seizing when adding colors?
That’s where the vegetable oil comes in—adding a few drops into each bowl with your coloring helps keep the chocolate smooth and glossy, stopping it from seizing up. I learned this tip after a few frustrating batches, and it really saves the day.
-
Can I make this fudge without white chocolate?
You can try, but white chocolate is essential for the creamy texture and sweetness that define this fudge. If you want other flavors, consider combining white chocolate with dark or milk chocolate, but pure substitutions might change the texture drastically.
Final Thoughts
This Easy Halloween Fudge Recipe has become my go-to treat every fall because it’s not only delicious but such a joy to make—with colors and sprinkles that get everyone excited before even tasting it! Honestly, there’s something magical about pulling out that first block of fudge after chilling and admiring the vibrant layers before indulging. I really hope you give it a try and enjoy the process as much as the payoff. And remember, Halloween is as much about fun in the kitchen as it is about the spooky celebrations—so have fun with this and make it your own!
Print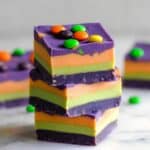
Easy Halloween Fudge Recipe
- Prep Time: 15 minutes
- Cook Time: 10 minutes
- Total Time: 4 hours 25 minutes
- Yield: 16 servings
- Category: Dessert
- Method: Stovetop
- Cuisine: American
Description
This easy Halloween fudge recipe features creamy white chocolate fudge divided into vibrant layers of black, orange, green, and purple, topped with festive Halloween sprinkles. Simple to prepare on the stovetop, this colorful treat is perfect for celebrating the spooky season with family and friends.
Ingredients
Main Ingredients
- 450 g white chocolate (16 oz)
- 397 g sweetened condensed milk (14 oz)
- 1 teaspoon vegetable oil
- 2-3 tablespoons Halloween cake sprinkles or candies (such as Cake Decor spooky mix sprinkles)
Food Coloring
- Black food colouring
- Orange food colouring
- Green food colouring
- Purple food colouring
Instructions
- Prepare the Tin: Line an 8×8-inch baking tin with baking paper, ensuring the sides are covered for easy removal of the fudge later.
- Melt Chocolate Mixture: Break the white chocolate into chunks and place it in a saucepan with the sweetened condensed milk. Heat over low heat on the stovetop, stirring gently until the chocolate melts completely and the mixture is thick and glossy.
- Divide and Color: Pour the melted fudge mixture equally into 4 separate bowls. Add black, orange, green, and purple food colouring to each bowl respectively. Add a few drops of vegetable oil to each to prevent the chocolate from seizing, stirring well to combine.
- Spread Colored Layers: Starting with one color at a time, spread each colored fudge mixture into the lined baking tin. If the fudge thickens while working, warm it briefly in the microwave for 10-20 seconds to restore smoothness.
- Add Sprinkles and Refrigerate: Sprinkle the Halloween cake decorations evenly over the top layer of fudge. Place the tin in the refrigerator and chill for 4 hours until set and firm.
- Cut and Serve: Once firm, remove the fudge from the tin using the baking paper edges. Cut into squares and enjoy your festive Halloween treat!
Notes
- Store the fudge in an airtight container in the refrigerator for up to 2 weeks to maintain freshness.
- If you do not have multiple bowls, clean the bowl thoroughly between colors and melt small amounts separately to avoid mixing colors.
- You can substitute white chocolate with vegan white chocolate to make it vegan-friendly.
- The vegetable oil helps soften the fudge and prevent seizing, but do not add too much to avoid oily texture.
- Use a sharp knife warmed slightly under hot water to get cleaner cuts when slicing the fudge.
Nutrition
- Serving Size: 1 square (approx. 30 g)
- Calories: 160 kcal
- Sugar: 20 g
- Sodium: 45 mg
- Fat: 8 g
- Saturated Fat: 5 g
- Unsaturated Fat: 2 g
- Trans Fat: 0 g
- Carbohydrates: 22 g
- Fiber: 0 g
- Protein: 2 g
- Cholesterol: 10 mg

