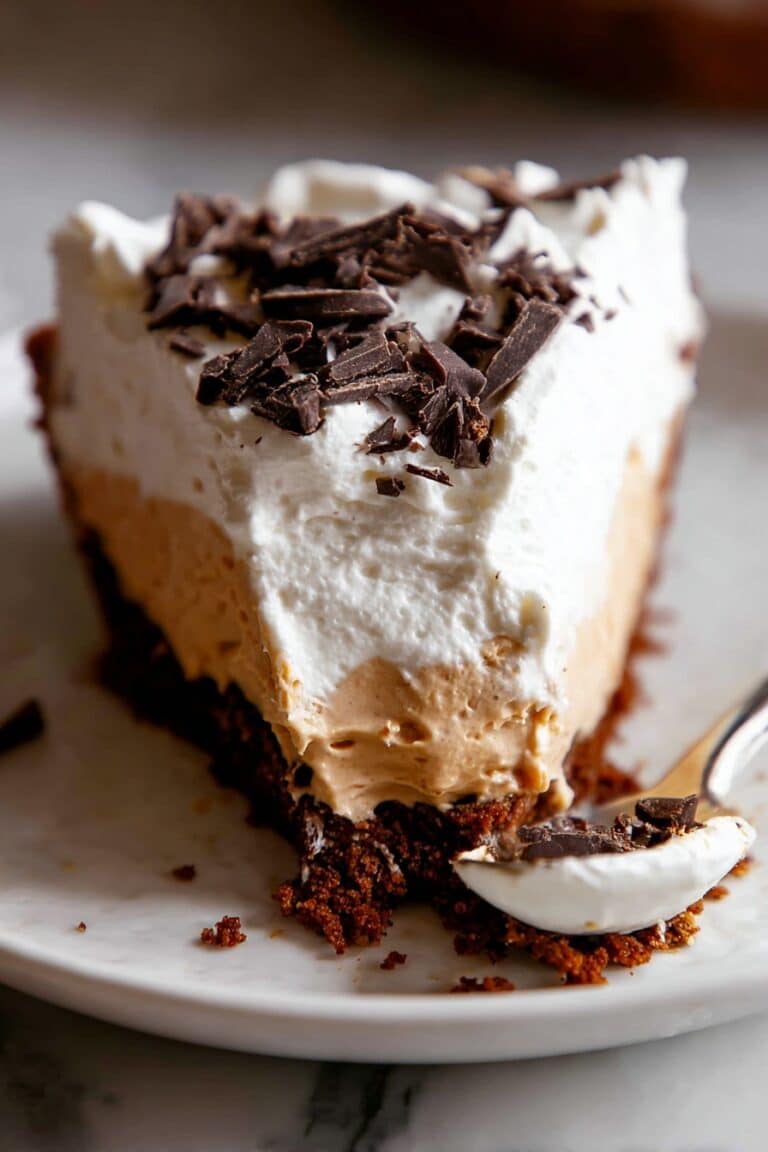
Basque Cheesecake Recipe
If you’re on the hunt for a cheesecake that’s creamy, rustic, and utterly addictive, you’ve come to the right spot. This Basque Cheesecake Recipe is one of my all-time favorites—and trust me, once you try it, you’ll be hooked. It’s that perfect blend of a beautifully burnt top with a silky, rich inside that just melts in your mouth. If you’ve been intimidated by fancy cheesecakes, don’t worry — this one’s forgiving, fuss-free, and will impress everyone at your table.
Why This Recipe Works
- Rich, Creamy Texture: Using full-fat cream cheese and heavy cream ensures that luscious, smooth mouthfeel you dream about in cheesecakes.
- Rustic Burnt Top: Baking at a high temperature creates that signature dark, caramelized crust that’s both beautiful and full of flavor.
- Simple Ingredients: You don’t need fancy additions – just pantry staples come together for an amazing bake.
- Forgiving Method: Minimal mixing and a forgiving bake mean you don’t need to be a pro to get professional results.

Ingredients & Why They Work
Every ingredient in this Basque Cheesecake Recipe works in harmony to give that classic balance of dense richness with a slight tang. Choosing the right ingredients and handling them gently is key to nailing the perfect texture.

- Cream Cheese: Full-fat, at room temperature, is crucial for a creamy and smooth base—don’t even think about low-fat versions here.
- Granulated Sugar: Sweetens while helping the top caramelize nicely for that dark crust.
- Eggs: Room temperature eggs mix more evenly and help create structure without overworking the batter.
- Heavy Cream: Adds richness and silky smoothness — if you can find farm fresh double cream, that’s an amazing upgrade.
- Vanilla Extract: Adds subtle sweetness and depth without overpowering the cheesecake’s delicate flavor.
- Salt: Just a pinch enhances all the flavors beautifully.
- All-Purpose Flour: Helps to stabilize the cake ever so slightly without turning it cakey or dense.
Make It Your Way
I love how flexible this Basque Cheesecake Recipe is. Once I got comfortable, I started experimenting with the sugar level and toppings to suit our taste buds. You can easily personalize it to fit your preferences or dietary needs.
- Variation: I often dial down the sugar to about 1¼ cups for a less sweet, more tangy finish that tastes fantastic paired with fresh berries.
- Dairy-free option: I haven’t tried substituting cream cheese here, but if you’re adventurous, a vegan cream cheese and coconut cream combo could be interesting—just expect a different texture.
- Flavor Add-ins: Occasionally, I add a hint of lemon zest or espresso powder for a twist, but the classic vanilla does the job perfectly.
Step-by-Step: How I Make Basque Cheesecake Recipe
Step 1: Prepare the Pan Like a Pro
Start by preheating your oven to 425°F (220°C). Next, line a 9 or 10-inch springform pan with a double layer of parchment paper, crossing each layer criss-cross inside the pan so that the paper extends about 2 inches above the edge. I like to wet the paper, scrunch it up gently, and then carefully smooth it back in place; this makes it more flexible and easy to fit the pan without tearing. Having that parchment edge is a lifesaver because it helps you lift out your cheesecake cleanly later on.
Step 2: Get the Cream Cheese Smooth
In a large bowl or stand mixer with the whisk attachment, beat the cream cheese on medium speed for about 2 minutes. This first step is essential—no lumps allowed! I’ve learned that using cream cheese straight from the fridge can ruin your batter, so always bring it to room temp ahead of time to make mixing painless and keep the texture silky.
Step 3: Sweeten and Combine Gently
Add the granulated sugar and whip for another 2 minutes until smooth. Then, add the eggs one at a time, mixing on low speed just until combined — don’t overdo it. You want to see just a little yellow from the previous egg before adding the next. This helps avoid incorporating too much air, which can cause cracks or a souffle-like texture (not what we want here!).
Step 4: Add Cream, Vanilla, Salt & Flour
With the mixer still on low, pour in the heavy cream, vanilla extract, and salt, mixing until fully blended. Lastly, sift in the flour and mix for just 20 seconds. I usually scrape the bowl down once before adding the flour to make sure everything blends evenly.
Step 5: Bake to Perfection
Pour your batter into the prepared pan, then set it on a rimmed baking sheet (to catch any leaks—always a smart move). Bake on the middle rack for 50 to 65 minutes. You’ll see the cheesecake rise and puff up, then it’ll sink as it cools — totally normal! The top should be a gorgeous golden brown with some darker spots (that’s the signature Basque burnt top magic). The center will still be a little jiggly, but don’t worry, it sets perfectly once chilled.
Step 6: Cool and Chill
Transfer your cheesecake (still in the pan) to a wire rack and cool it to room temperature. Then pop it into the fridge for at least 8 hours, ideally overnight. This chilling time is critical to let the texture set and flavors deepen. When you’re ready to serve, remove it 1-2 hours beforehand so it softens up just right. Use the parchment edges to gently lift the cake off the pan base. For neat slices, I heat a large knife under hot water and wipe it dry before slicing — that trick never fails me!
Tips from My Kitchen
- Room Temperature Ingredients: I swear by bringing everything to room temp—it helps the batter blend without lumps and prevents cracking.
- Slow Mixing: Taking it slow with the eggs prevents air bubbles and keeps the cheesecake dense and creamy, not soufflé-y.
- Parchment Paper Hack: Wet and scrunch the parchment before lining the pan; it fits perfectly without tearing or sliding.
- Don’t Skip the Chill: Letting the cheesecake rest overnight transforms texture and flavor—it’s worth the wait, really.
How to Serve Basque Cheesecake Recipe

Garnishes
I usually keep it simple because the cheesecake itself is the star. A drizzle of slightly warmed berry compote or some fresh seasonal berries really makes it pop. Sometimes a light dusting of powdered sugar adds a nice contrast, but honestly, it’s delicious plain, too.
Side Dishes
If you’re serving this at a party, I like to pair it with a cup of rich espresso or a glass of dessert wine. Fresh fruit salad on the side can also balance the richness nicely, and if you want to add some crunch — toasted nuts or almond biscotti are perfect companions.
Creative Ways to Present
For special occasions, I’ve arranged slices on a slate board with edible flowers and drizzled a dark chocolate ganache around the edges. It instantly glamorizes this rustic cake without losing its charm. Another trick is to serve individual portions in small ramekins lined with parchment for a cute, personal touch.
Make Ahead and Storage
Storing Leftovers
I store leftover Basque cheesecake in the refrigerator, tightly wrapped with plastic wrap or stored in an airtight container. It stays beautifully fresh for up to a week. The texture actually tastes even better a day or two later once the flavors meld!
Freezing
I’ve frozen this cheesecake a few times wrapped well in plastic wrap and aluminum foil, and it handles freezing like a champ for up to 3 months. To thaw, I just move it to the fridge overnight—easy and stress-free.
Reheating
If you prefer it warm, I gently warm slices in the microwave for 15-20 seconds. Just enough to take the chill off without melting it. Letting it come to room temp naturally is my favorite though—it really lets the flavors shine.
FAQs
-
What makes Basque cheesecake different from regular cheesecake?
Basque cheesecake is distinct because it’s baked at a high temperature to get that deeply caramelized, almost burnt exterior, combined with a creamy custard-like inside. Unlike the dense New York-style cheesecakes, Basque is lighter in texture with a rustic look and slightly smoky flavor.
-
Can I use low-fat cream cheese or substitutes?
For the best texture and flavor, it’s essential to use full-fat cream cheese. Low-fat versions don’t provide the creaminess needed and can result in a grainy texture. If you want dairy-free options, try specialized vegan cream cheese alternatives, but know the texture will differ.
-
Why does the cheesecake sink after baking?
The sinking is completely normal for Basque cheesecake due to its custard-like batter. The cake puffs up from oven heat and then relaxes as it cools, creating a tender interior with that signature jiggly center before it sets fully after chilling.
-
How do I prevent cracks in my Basque cheesecake?
Slow, minimal mixing and using room temperature ingredients help prevent cracks by reducing the amount of air incorporated. Also, baking at a high temperature ensures quick setting of the outside, which helps keep the cake intact despite the jiggly center.
-
Can I make Basque cheesecake ahead of time?
Absolutely! In fact, Basque cheesecake tastes even better the next day. Chill it overnight to allow the texture and flavors to develop fully. It also freezes well, so you can prepare it weeks in advance.
Final Thoughts
This Basque Cheesecake Recipe has become my go-to whenever I want to wow guests with something pretty unique yet incredibly easy. It’s the perfect dessert if you love cheesecakes but dread the fuss. Trust me, once you start making it, you’ll find yourself craving that burnt top and velvety interior again and again. So grab your ingredients, don’t shy away from the burnt look—it’s exactly what makes this cake so special—and enjoy every luscious slice!
Print
Basque Cheesecake Recipe
- Prep Time: 15 minutes
- Cook Time: 1 hour
- Total Time: 11 hours 15 minutes
- Yield: 12 servings
- Category: Dessert
- Method: Baking
- Cuisine: Spanish
- Diet: Vegetarian
Description
This Basque Cheesecake features a creamy, rich texture with a rustic burnt top that adds a subtle caramelized flavor. It requires minimal ingredients and straightforward steps, making it a perfect impressive dessert for any occasion. The cheesecake is baked at high heat to achieve its signature golden-brown top and soft center.
Ingredients
Cheesecake Batter
- 32 ounces cream cheese, room temperature and full-fat only
- 1½ cups granulated sugar
- 5 large eggs, room temperature
- 1½ cups heavy cream, room temperature
- 1 tablespoon vanilla extract
- 1 teaspoon salt
- ⅓ cup all-purpose flour, sifted
Instructions
- Prepare Pan: Preheat your oven to 425°F and line a 9 or 10-inch springform pan with a double layer of parchment paper arranged in a criss-crossed pattern. Wet, scrunch, and dry the parchment for easier handling and ensure it rises about 2 inches above the pan edge.
- Whip Cream Cheese: In a large bowl or stand mixer with a whisk attachment, whip the cream cheese for 2 minutes until smooth and creamy.
- Add Sugar: Blend in the granulated sugar at medium speed for about 2 minutes until smooth, scraping down the sides to avoid lumps.
- Incorporate Eggs: Add eggs one at a time at low speed, mixing gently until barely combined before adding the next egg to avoid over-whipping and air bubbles.
- Add Cream and Flavor: With the mixer on low, pour in the heavy cream, vanilla extract, and salt, mixing until fully incorporated.
- Add Flour: Sift the flour into the batter and gently mix for about 20 seconds to combine without overworking the batter.
- Pour Batter: Transfer the batter into the prepared springform pan, smoothing the top gently.
- Bake: Place the pan on a rimmed baking sheet on the oven’s middle rack. Bake for 65 minutes until the top is deep golden brown and the center jiggles slightly but looks set.
- Cool: Remove the cheesecake from the oven and place it on a wire rack to cool completely to room temperature.
- Chill: Refrigerate the cheesecake, still in the pan, for at least 8 hours or overnight to set fully.
- Serve: Remove the cheesecake from the springform base using the parchment edges. Allow it to sit at room temperature for 1 to 2 hours before slicing. For clean slices, warm a chef’s knife under hot water, wipe dry, and slice.
- Optional Toppings: Serve plain or topped with fruit compote or other favorite cheesecake toppings.
Notes
- Use farm-fresh double cream if available for an even richer texture.
- Do not remove cheesecake from the pan until it has completely cooled to prevent cracking.
- Serve this cheesecake at room temperature for optimal flavor and texture.
- Store leftovers covered in the refrigerator for up to 1 week.
- Freeze for up to 3 months by wrapping tightly with plastic wrap and aluminum foil.
- Adjust sugar between 1¼ cups and 2 cups based on desired sweetness.
- Pay close attention to the mixing speeds to avoid overwhipping and prevent a souffle-like texture.
- The rustic burnt look is intentional and adds to the cake’s charm.
Nutrition
- Serving Size: 1 slice
- Calories: 450 kcal
- Sugar: 35 g
- Sodium: 250 mg
- Fat: 35 g
- Saturated Fat: 22 g
- Unsaturated Fat: 10 g
- Trans Fat: 0 g
- Carbohydrates: 25 g
- Fiber: 0 g
- Protein: 7 g
- Cholesterol: 150 mg


